This post will help you out if: you use Google Photos to keep a copy of your photos/videos, or would like to start. For PC, Tablet or Smartphone.
In my last post, I told you that from 1st June 2021, any new photos that you saved in Google Photos would count towards your 15GB free storage limit on your Google account (including Gmail and Drive). Here, as promised, I’ll explain how to manage photos in the app on your Android smartphone, and also how to move photos in bulk into Google Photos before 1st June to take advantage of the unlimited free storage there currently.
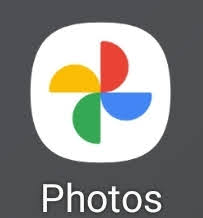
Opening the Google Photos app on your Android phone
On your phone, open the Google Photos app by clicking on the icon that looks like this:
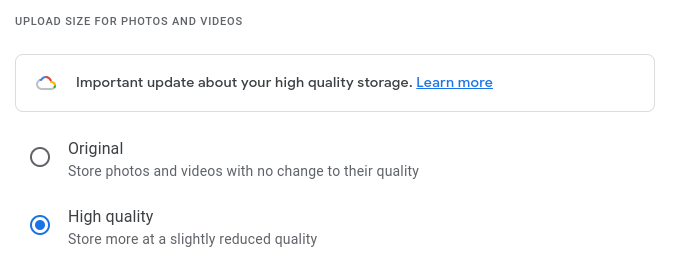
If this is the first time you’ve used it, you’ll be asked whether you want to allow the app access to your photos (yes) and whether you want to ‘Turn on backup‘. Take care here: selecting this will automatically put copies of all the photos stored in your phone’s memory into Google Photos, which can take a while! If you want to store as much as possible in Google Photos before June then go ahead, but when you’re asked to select from ‘Original’ or ‘High Quality’ backup, you need to select High Quality. Then just wait as it transfers everything across (a good excuse to put the kettle on).
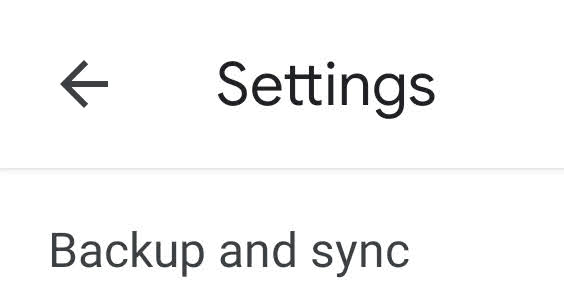
Adjusting ‘backup and sync’ settings on the Android phone app
With ‘backup and sync’ turned on, any new photos you take will have copies saved in Google Photos until you switch off the backup setting. So if you take lots of photos and are worried about using up all your free storage space, you might want to switch it off before 1st June. With the Google Photos app open, go to the ‘settings’ menu by selecting the profile picture or initial in the top right hand corner of the screen (mine’s just a green circle with ‘R’ in the centre).
Now select ‘photos settings’…

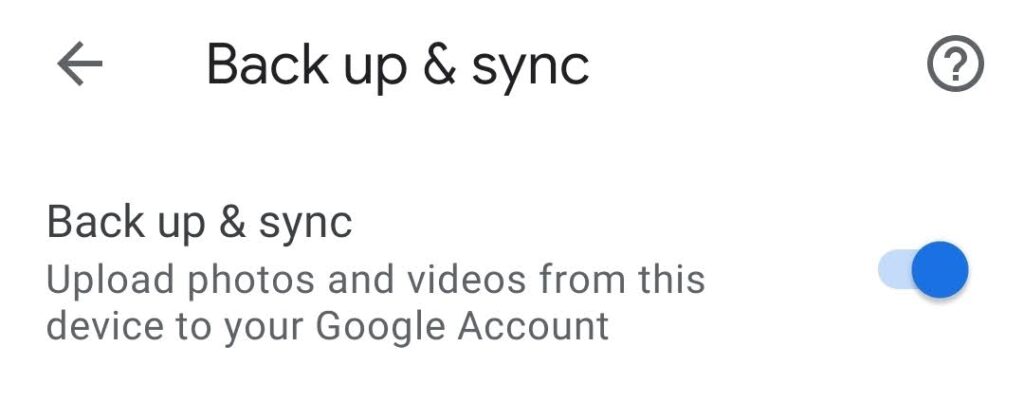
… then ‘Backup and sync’…
… then press the toggle to switch this off (or back on again as needed):
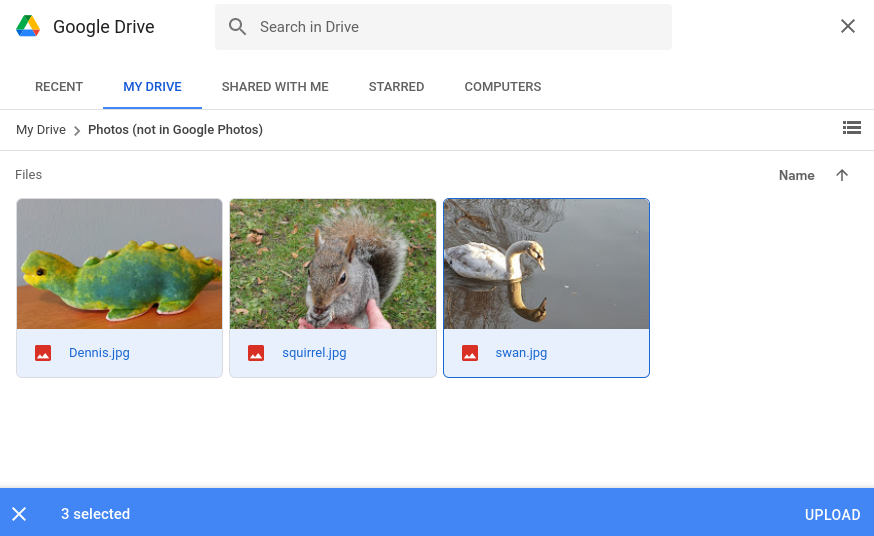
Moving photos from Google Drive to Google Photos
To transfer photos from Google Drive to Google Photos, you’ll need to use a computer, laptop or tablet and use the Google Photos website here. Select the cog icon along the top right (settings) and select ‘high quality’ from the menu shown below:
Then select ‘upload’, which is just to the left of the cog icon. You’ll get a choice of where to upload from.
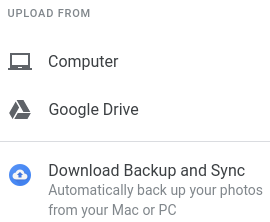
Select ‘Google Drive’, then go to where your photos are saved, select them, and press ‘upload’:
If you’re doing this to save storage space, you’ll need to delete the photos from your Drive after copying them to Google Photos, as the upload only moves copies. A word of warning though: when you compress photos into ‘High Quality’ format, they are not as high quality as the originals (yes, the wording is confusing…). So make sure you check them out in Google Photos to make sure you’re happy with the quality before deleting your originals!
I hope you’ve found this useful, and like me you are inspired to make the most of Google’s data storage to take more pics of pigeons (or is that just me?). Happy snapping! Robin.